The Quest for the Perfect No-Spread Sugar Cookie Recipe
Imagine a beautifully decorated sugar cookie, intricately piped with royal icing or elegantly swirled with buttercream, holding its shape perfectly. No expanded edges, no distorted designs – just pure edible artistry. This isn't a fantasy for seasoned bakers alone; it's an achievable reality with the right
sugar cookie recipe. If your goal is to create stunning cut-out cookies that are as delightful to eat as they are to behold, then mastering the no-spread technique is your ultimate secret weapon.
While there's undeniable joy in a soft, fluffy sugar cookie that spreads just enough to be wonderfully chewy and melt-in-your-mouth, perfect for a quick snack or dunking in a glass of eggnog (and for that, check out our
Fast & Easy Soft Sugar Cookies: Just 7 Ingredients, Under 1 Hour), these aren't the heroes of the decorating world. For intricate designs and sharp edges, you need a dough engineered to stand firm against the heat of the oven. This article will guide you through the principles and practices of crafting the best no-spread cut-out sugar cookies, ensuring your baking endeavors are both delicious and visually spectacular.
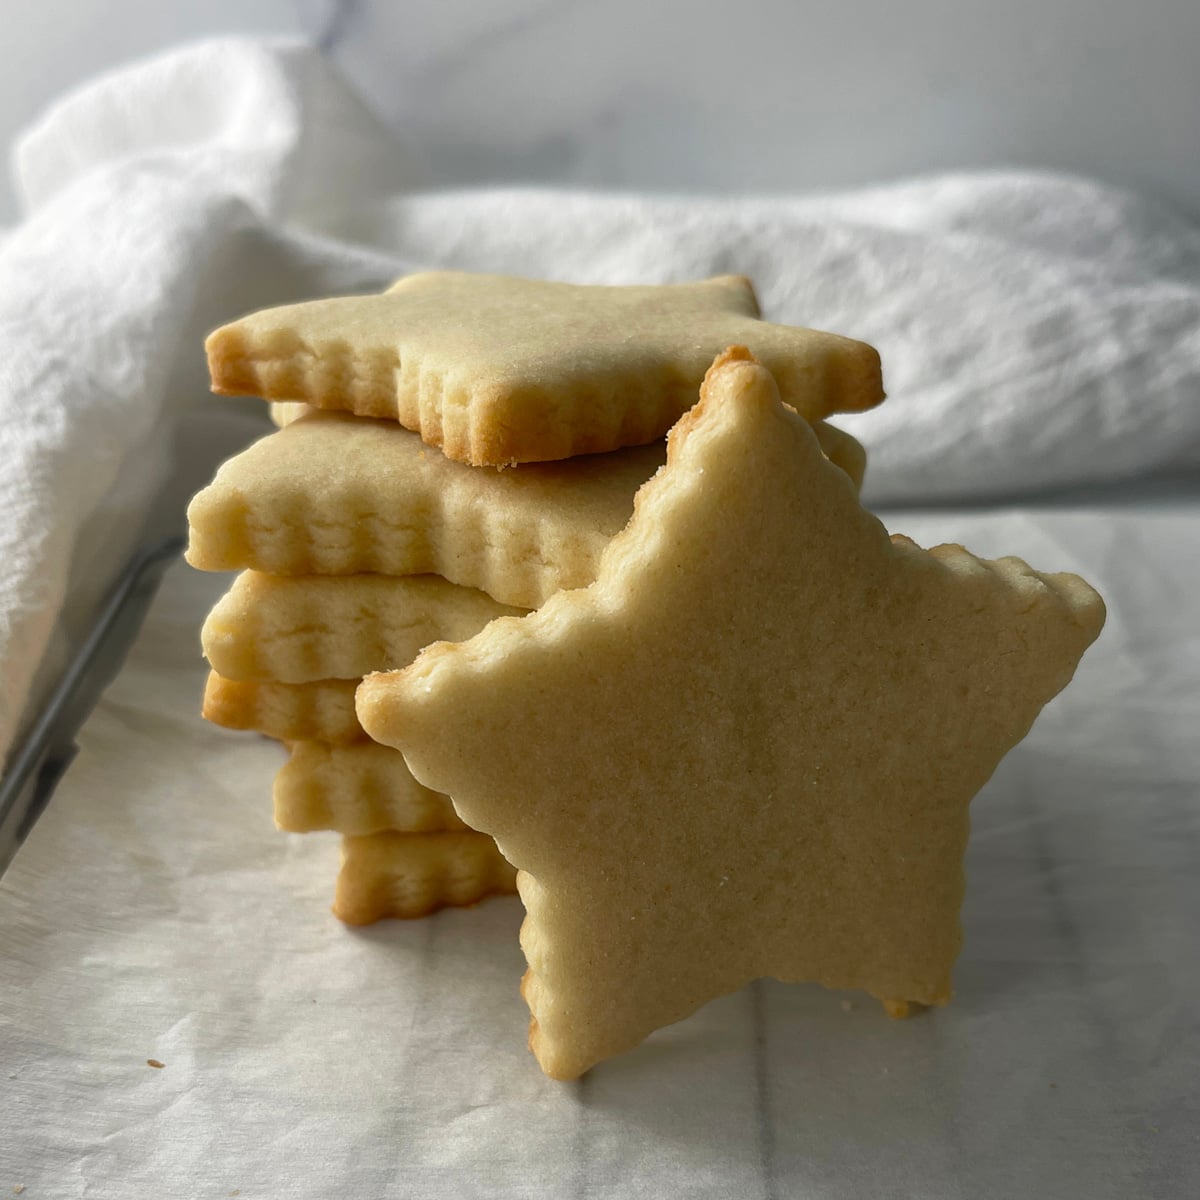
What truly defines a perfect cut-out sugar cookie destined for decoration? It's a harmonious balance: a tender middle that isn't too crumbly, edges that are delicately crisp, and most importantly, a robust structure sturdy enough to withstand handling and a layer of icing without cracking or losing its form. Our focus here is on achieving that coveted blend of flavor, texture, and structural integrity.
The Science Behind No-Spread Sugar Cookies: Ratios and Techniques
Understanding why some sugar cookie recipes spread uncontrollably while others hold their pristine shapes is fundamental to mastering the art of the no-spread cookie. It all comes down to a delicate interplay of ingredients and precise techniques.
Mastering the Ingredient Ratios
The secret to a no-spread sugar cookie lies in the carefully balanced ratios of its core ingredients, particularly flour, fat, and sugar.
*
Flour-to-Fat Ratio: Unlike the high butter-to-flour ratio often found in recipes designed for soft, cakey cookies (explore more about this in
The Secret to Perfectly Soft Sugar Cookies: A High Butter Ratio), a no-spread cookie recipe typically employs a slightly higher flour content relative to butter. This higher proportion of flour provides more structure and absorbs more moisture, preventing the cookie from excessively spreading as the butter melts. Too much butter can cause the dough to "relax" and expand significantly.
*
Sugar-to-Fat Balance: While sugar adds sweetness and contributes to tenderness, too much sugar can also encourage spread, as sugar melts and caramelizes in the oven. A balanced sugar-to-fat ratio ensures the cookies are sweet and tender without compromising their shape. Using granulated sugar often helps maintain structure better than brown sugar due to its crystalline form.
*
Eggs: Eggs add moisture, richness, and act as a binder. However, like butter, too many eggs can contribute to a softer, more spread-prone dough. A standard recipe usually calls for one or two eggs to provide enough moisture for a tender crumb without making the dough too wet.
*
Leavening Agents (Baking Powder/Soda): For a no-spread cookie, leavening agents like baking powder or baking soda are often used sparingly or sometimes omitted entirely. These agents create gases that cause dough to rise and spread. Minimizing them helps the cookies retain their original cut-out shape. If used, it's typically in very small amounts to give a slight lift without encouraging excessive expansion.
*
Flour Type and Measurement: All-purpose flour is generally suitable, but precision in measuring is paramount. Too little flour will lead to spread, while too much can result in dry, crumbly cookies. Always spoon flour into your measuring cup and level it off with a straight edge rather than scooping directly from the bag.
Essential Techniques for Success
Beyond the ingredients, several techniques are critical to achieving those perfectly defined cookie shapes.
*
Chilling the Dough: This is arguably the most crucial step for no-spread cookies. Chilling the dough (typically for at least 30 minutes, or even an hour or two) solidifies the butter, making the dough much firmer and less prone to spreading. It also allows the flour to fully hydrate, improving the dough's workability and texture. *Never skip this step!*
*
Accurate Measuring: As mentioned, precise measurement, especially of flour, is non-negotiable. Even a slight excess or deficit can drastically alter the dough's consistency and baking performance.
*
Rolling Thickness: Aim for a consistent dough thickness, usually between 1/4 and 3/8 inch. Dough that is too thin will bake quickly, potentially becoming brittle, while dough that is too thick may not cook through evenly. Consistent thickness ensures uniform baking and a sturdy base for decorating.
*
Baking Temperature and Time: A moderate oven temperature (around 350°F / 175°C) is ideal. Bake until the edges are just set and very lightly golden, but the centers still look pale. Overbaking will result in dry, crisp cookies. They will continue to firm up as they cool on the baking sheet.
*
Using Parchment Paper: Always bake your cookies on parchment paper or a silicone baking mat. This prevents sticking, promotes even baking, and makes transfer much easier.
Crafting the Dough: A Step-by-Step Approach
Creating the perfect no-spread cookie dough is a straightforward process, relying on careful execution of a few simple steps.
Simple Ingredients, Maximum Impact
Most no-spread sugar cookie recipes call for a similar set of 7 core ingredients, highlighting their versatility and accessibility:
1.
Unsalted Butter: Room temperature is crucial for proper creaming.
2.
Granulated Sugar: For sweetness and structure.
3.
Eggs: Room temperature, to emulsify properly with the butter and sugar.
4.
All-Purpose Flour: Properly measured.
5.
Vanilla Extract: For that classic, comforting flavor. High-quality extract makes a difference!
6.
Salt: Balances sweetness and enhances flavor.
7.
Baking Powder (optional/minimal): For a slight lift, if desired, but often omitted or greatly reduced for maximum shape retention.
Ensuring your butter and eggs are at room temperature is vital. This allows them to cream together smoothly with the sugar, creating an airy, well-emulsified base for your dough.
Mixing Your Way to Perfection
While an electric mixer (stand or handheld) makes the process effortless, you can certainly mix sugar cookie dough by hand with a little elbow grease.
1.
Cream Butter and Sugar: In a large bowl, beat the softened butter and granulated sugar together until light and fluffy. This step incorporates air, which contributes to the cookie's tender texture. If mixing by hand, start with a wooden spoon, then switch to a whisk or fork to achieve the pale and creamy consistency, which can take 5-7 minutes.
2.
Add Eggs and Vanilla: Beat in the eggs one at a time, ensuring each is fully incorporated before adding the next. Stir in the vanilla extract.
3.
Combine Dry Ingredients: In a separate bowl, whisk together the flour, salt, and any leavening agent.
4.
Gradually Add Dry to Wet: Slowly add the dry ingredients to the wet mixture, mixing on low speed (or by hand) just until combined. *Do not overmix!* Overmixing develops gluten, which can lead to tough, chewy cookies – not ideal for a tender cut-out. The dough should come together into a firm, cohesive ball that isn't overly sticky.
Shaping and Baking for Optimal Results
With your dough ready, it's time to transform it into beautifully shaped cookies.
1. **Chill the Dough:** Divide the dough into two or three discs, wrap each tightly in plastic wrap, and refrigerate for at least 30-60 minutes, or up to 2 days. This chilling step is *non-negotiable* for no-spread cookies.
2. **Roll and Cut:** On a lightly floured surface (or between two sheets of parchment paper to avoid adding too much flour), roll out one disc of chilled dough to your desired thickness (1/4 to 3/8 inch). Use your favorite cookie cutters to cut out shapes. For clean cuts, dip your cutters in flour between uses.
3. **Transfer and Chill (Again!):** Carefully transfer the cut-out cookies to a baking sheet lined with parchment paper. If your kitchen is warm, or you want extra insurance against spread, pop the entire baking sheet with cut-out dough back into the fridge for 10-15 minutes before baking.
4. **Bake:** Preheat your oven to 350°F (175°C). Bake cookies for 8-12 minutes, depending on size and thickness. Look for edges that are barely golden and centers that are set but still pale.
5. **Cool:** Allow cookies to cool on the baking sheet for 5-10 minutes before transferring them to a wire rack to cool completely. This helps them firm up and prevents breakage.
Decorating Your Masterpieces: Beyond the Bake
Once your no-spread sugar cookies are perfectly baked and completely cooled, the real fun begins: decorating! This is where the structural integrity of your no-spread recipe truly shines. Their flat, firm surface and sharp edges provide the perfect canvas for your artistic endeavors.
*
Choose Your Icing: For intricate designs and a smooth, hard finish,
royal icing is the classic choice. It dries hard, allowing for stacking and detailed work. If you prefer a softer, creamier texture,
buttercream frosting can also be used, though it won't set as firmly.
*
Cool Completely: Ensure cookies are *fully* cooled before decorating. Any residual warmth will melt your icing.
*
Outline and Flood: For royal icing, start by outlining your cookie shape with a stiffer consistency icing, then "flood" the inside with a thinner consistency. Allow each layer to dry before adding details.
*
Tools of the Trade: Piping bags, various tips, food coloring, and edible embellishments like sprinkles or edible glitter are your friends.
*
Storage: Decorated cookies, especially with royal icing, can be stored in an airtight container at room temperature for several days.
Conclusion
Mastering the no-spread cut-out
sugar cookie recipe opens up a world of creative possibilities in your kitchen. By understanding the critical role of ingredient ratios, embracing the power of chilling, and executing precise techniques, you can consistently achieve beautiful, sturdy cookies that are perfect for any decorating project. Whether for holiday celebrations, birthdays, or just a fun baking day, these cookies provide the ideal foundation for edible art. So, gather your ingredients, sharpen your cookie cutters, and get ready to bake and decorate your way to cookie perfection!